People and access
Open settings from the workspace name at the top of the sidebar. Members, Roles and General are visible to administrators only.
Whoever created the workspace already holds full access, so roles are needed once somebody else joins.
Invite a colleague
Section titled “Invite a colleague”-
Open Members and choose Invite member.
-
Enter the email address.
-
Set the Workspace role — Owner, Admin or Member. This governs the workspace itself: who may reach these settings pages.
-
Add any number of roles. These govern the data — what the person may see and change once inside.
-
Choose Send invitation.
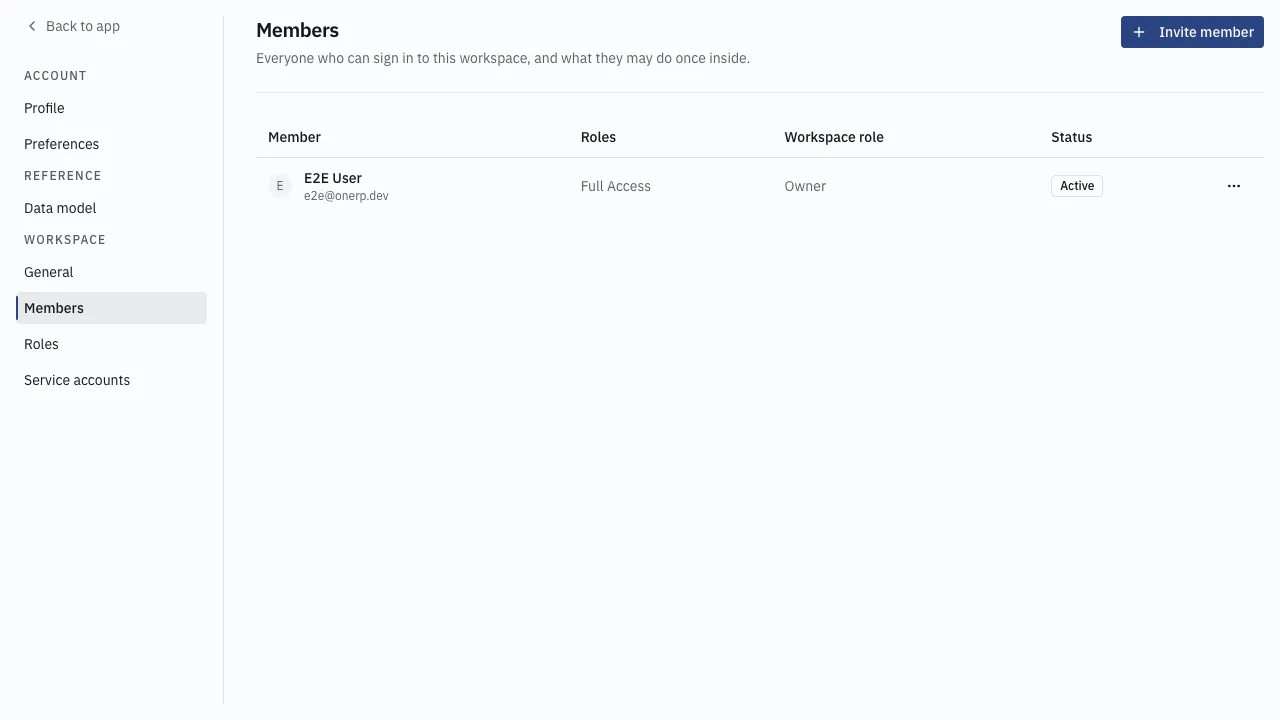
The invitation sits under Members with the status Invited until it is accepted, and can be resent or revoked from its row. Removing an active member takes their access away immediately; letting them back in takes a new invitation.
Build a role
Section titled “Build a role”A role is a set of permissions. Members and service accounts hold roles, never permissions directly.
-
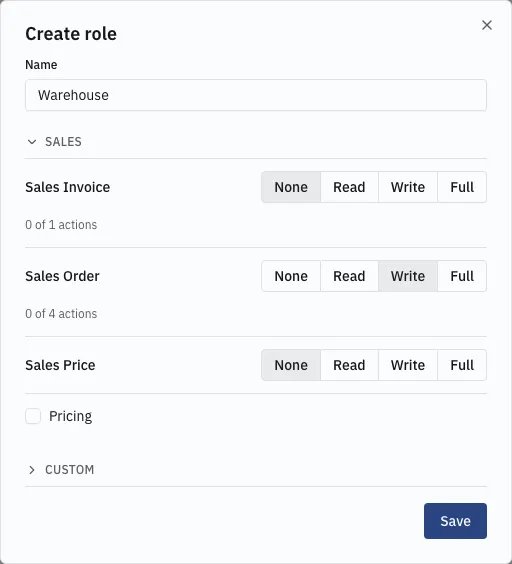
Open Roles and choose Create role, or click an existing role. It opens in a dialog.
-
Name the role.
-
Set each business object to None, Read, Write or Full. Read-only objects such as Tax Jurisdictions stop at Read.
-
Expand a business object to grant its actions — releasing an order, cancelling an invoice — one by one.
-
Choose Save. The role’s permissions are replaced whole; nothing is written until then.
What the levels mean
Section titled “What the levels mean”| Level | Grants |
|---|---|
| None | nothing |
| Read | viewing records and lists |
| Write | reading, creating and changing, but not deleting |
| Full | everything, deletion included |
Actions are separate from all four. A role with Full on sales orders still cannot release one until Release is granted under that object.
Integrations authenticate with an API key rather than a password — see Service accounts.